19
2015
Not too long ago capturing motion control timelapses meant spending thousands of dollars. Sure, you could “DIY it”- it didn’t cost you much to put your camera on an egg timer and wait for the “spin cycle” to complete, but good luck programming that setup!
Looking around these days, though, you can easily find a motion control head under $250. The options and features abound, and many, like the Alpine Labs Radian Motion Control Timelapse head ($249 over at B&H) we’re going to look at today, started their life on Kickstater- this means there’s a community there out of the gate tinkering and making suggestions to improve the product. But how good can a sub $250 motion control head be?
What is it it?
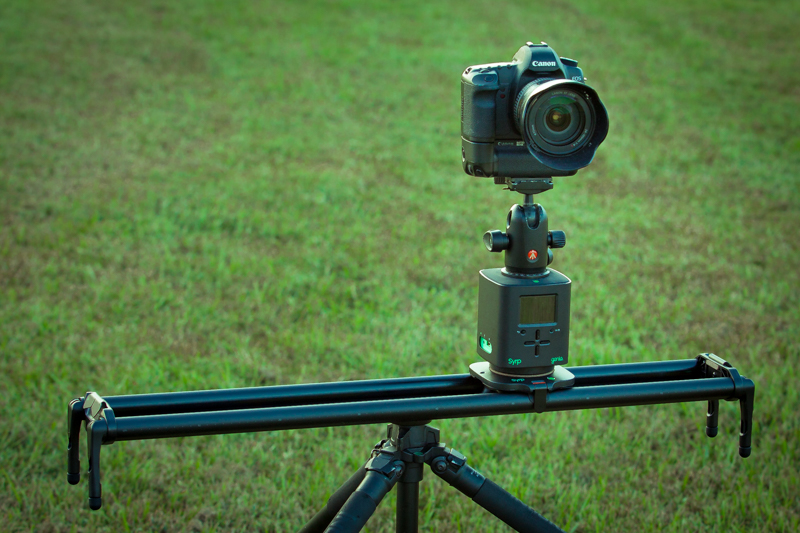
Radian is a lightweight single-axis motion control head. Single-axis means you can capture tilts or pans, but you don’t get linear motion on a slider.
Radian is, light, light, light. It weighs just 15 ounces (425g for ye metric folk) and measures 4.57 x 1.77” (116 x 45mm). It fits very easily in my camera bag and I don’t mind carrying it along a hike. To put this in perspective my Canon 24-105 f/4L weighs 1.47lbs (670g). Think of Radian as a light 2nd lens you’re bringing along. This is a big deal! When you’ve walked 13 miles with food and water strapped to your back, you’re thankful for every ounce you’re not carrying!
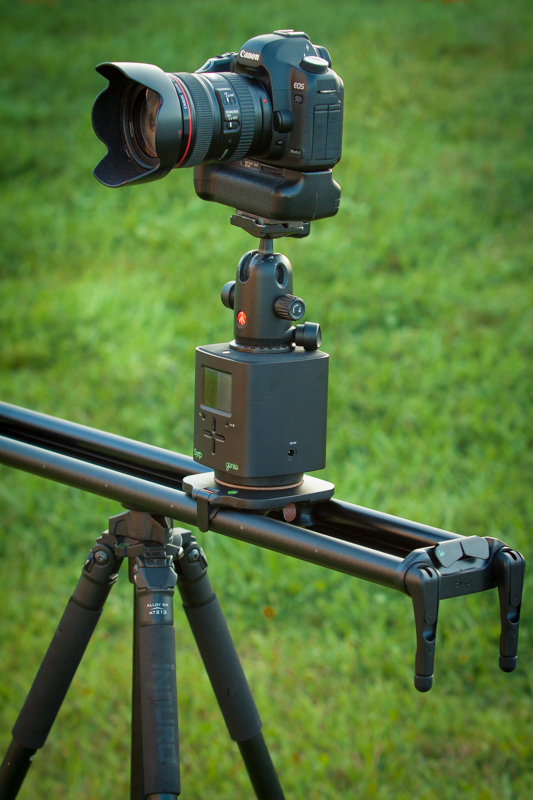
It’s light, but it’s also all plastic. I wouldn’t call it flimsy, but I also wouldn’t call it a bullet-proof all metal design- keep this in mind if your’e hopelessly rough on your gear.
Using it
Setting it up is straight forward: Radian attaches to a 1/4″ screw (no 3/8″) so just turn Radian onto the bottom of your camera then attach it to your tripod head. Radian includes a little bubble level in the package. This is nice, but I really wish the bubble head was integrated into the unit – one gust of wind and that bubble level is gone!
Software
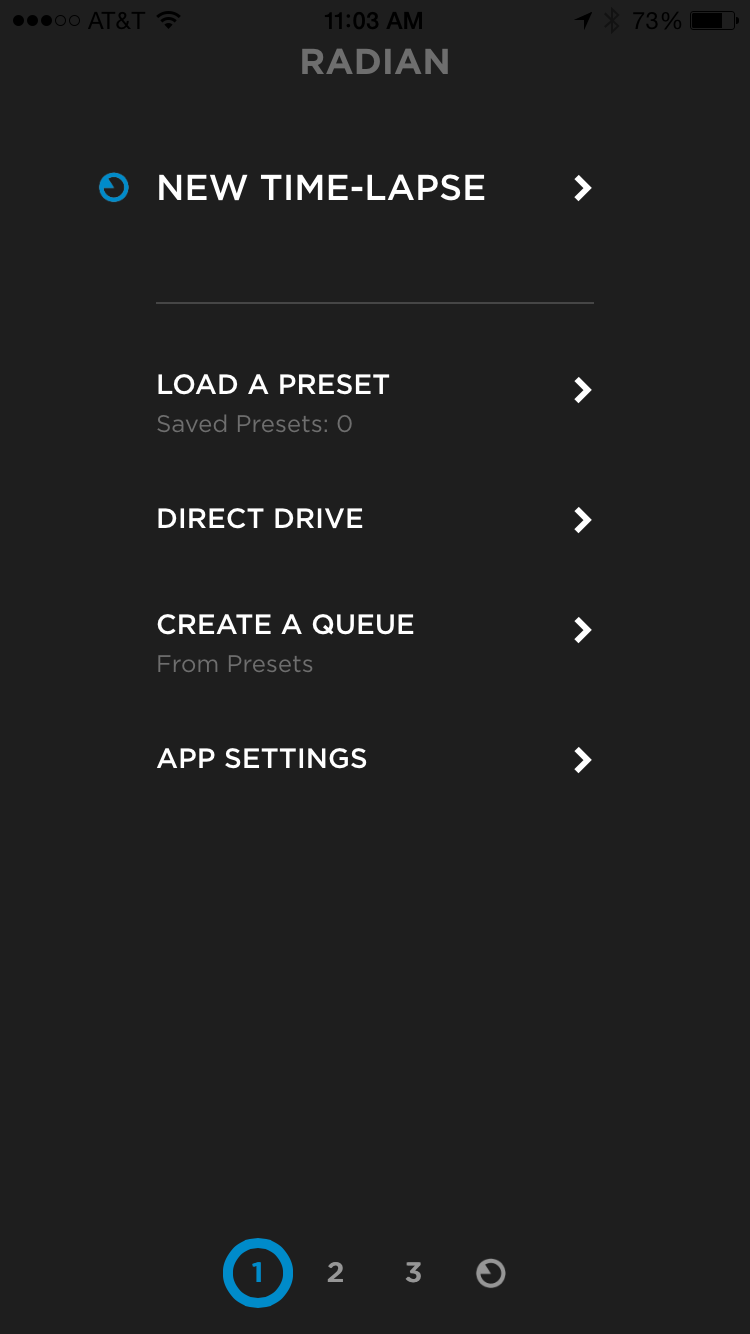
Radian doesn’t have an LCD screen -you program it using your iOS or android device. What this means is the programming user interface is easy to use and, more importantly, Radian’s functionality is constantly being tweaked through Alpine Labs app updates. What’s also nice is you only program Radian using your phone: your phone doesn’t have to remain connected to execute the timelapse like other apps such as TriggerTrap. You just plug-in your phone, program, and disconnect. Once your phone is disconnected the Radian app keeps track of your timelapse’s progress. This lets you walk away and just pull out your phone to see if you need to go back to your tripod(s).
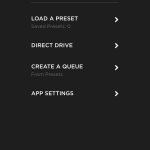
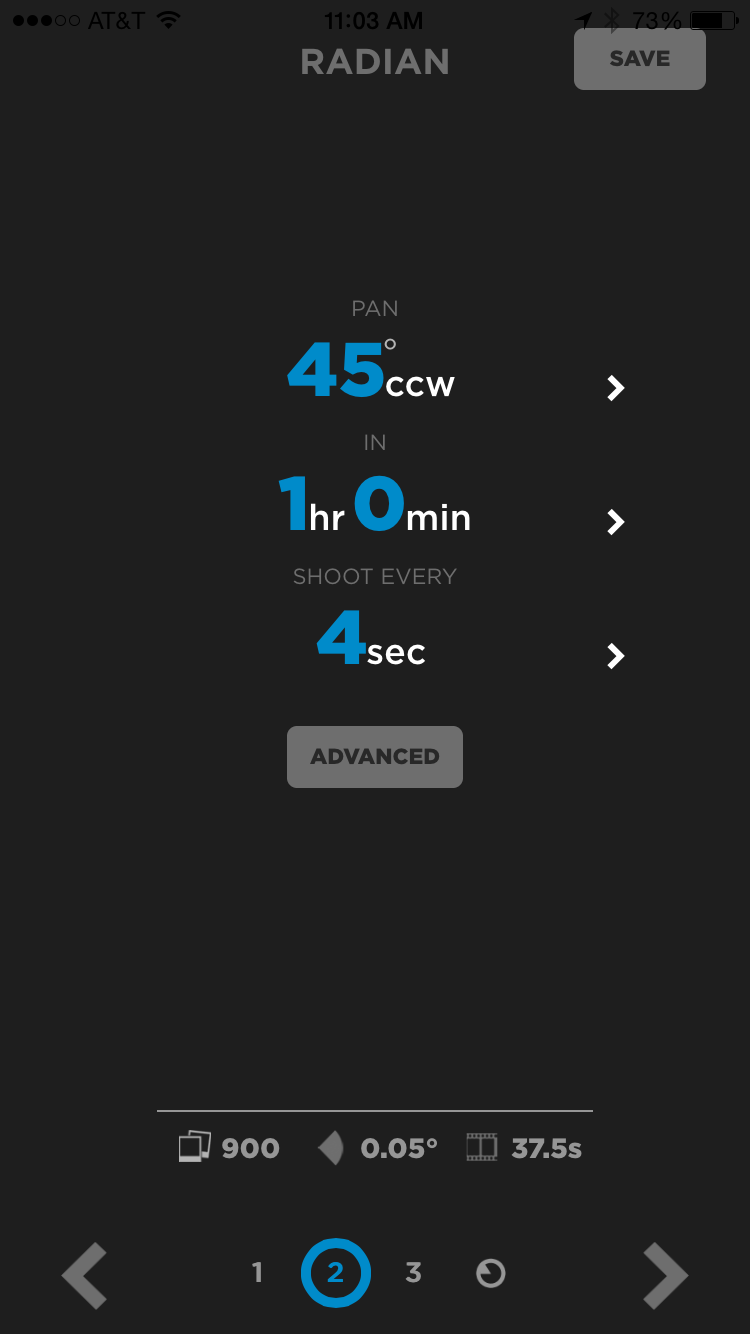
Take a look at images below to get a feel for the user interface.
-
- Startup Screen
-
- Creating a New Timelapse
-
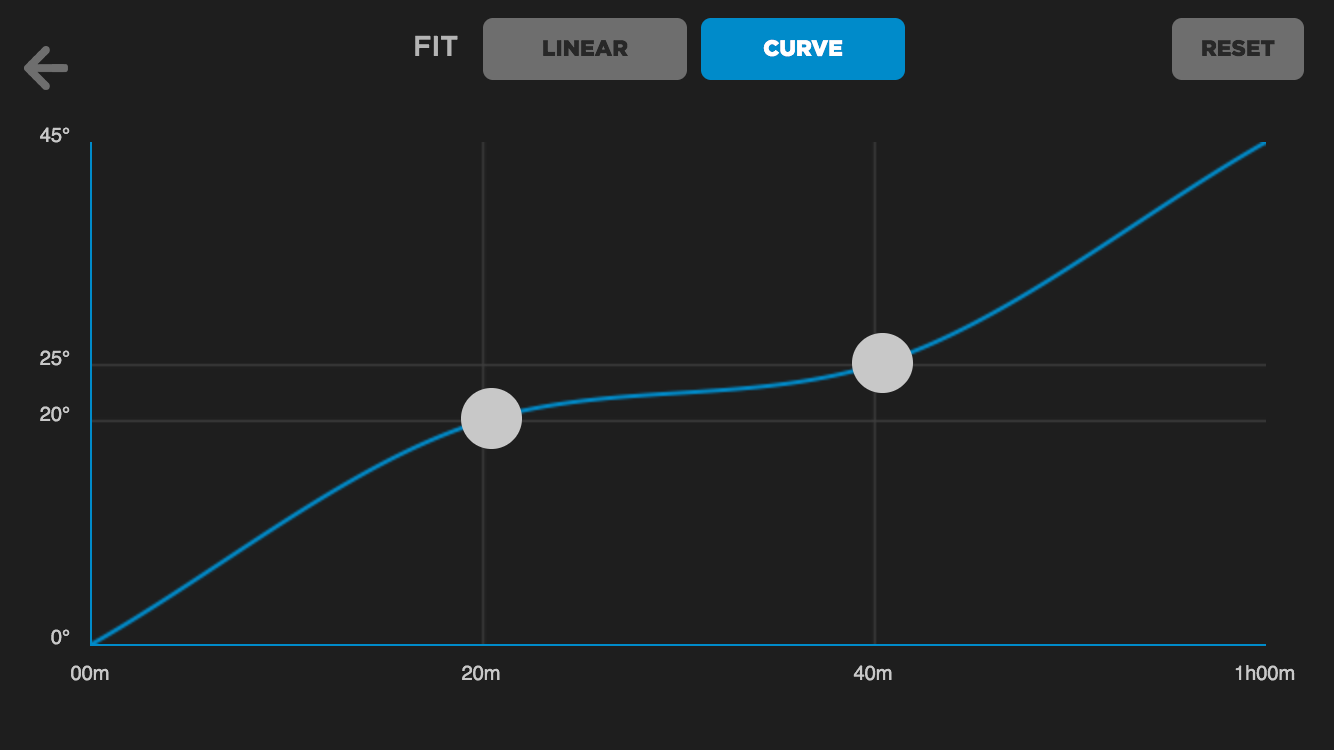
- Bulb Ramping

The one bad thing I have to say about Radian is it does not like wind. Radian works just fine when the weather is calm, but wind will turn your camera into a sail that pulls Radian around. I’ve had a couple of occasions where I just couldn’t use the head because it was too windy. This may not matter for your application, but if you’re outdoors on the seashore all the time, this may be an issue for you.
You can talk about a device all you want, but in the end the question is: can it perform the job it was designed to perform? With just a little more ‘talk’, I’ll say yes. Take a look at the video below:
- It’s light
- Easy to program
- Battery lasts forever (it’s rated for 100 hours!)
- Fits easily in my camera bag
- Industrial design doesn’t scream elegant. It’s functional but not pretty. Also, materials could be more robust
- Susceptible to wind
- Bubble level should be integrated into the unit’s body
Should you get it ?
For $249 it’s a good timelapse device to have. It’s small, lightweight, and easy to bring along. If you’re shooting atop of mountains, or anywhere where wind is pervasive, I’d say look at something else. Outside of that, it’s well worth the investment for a single-axis timelapse head.
Where to buy
B&H – $249